
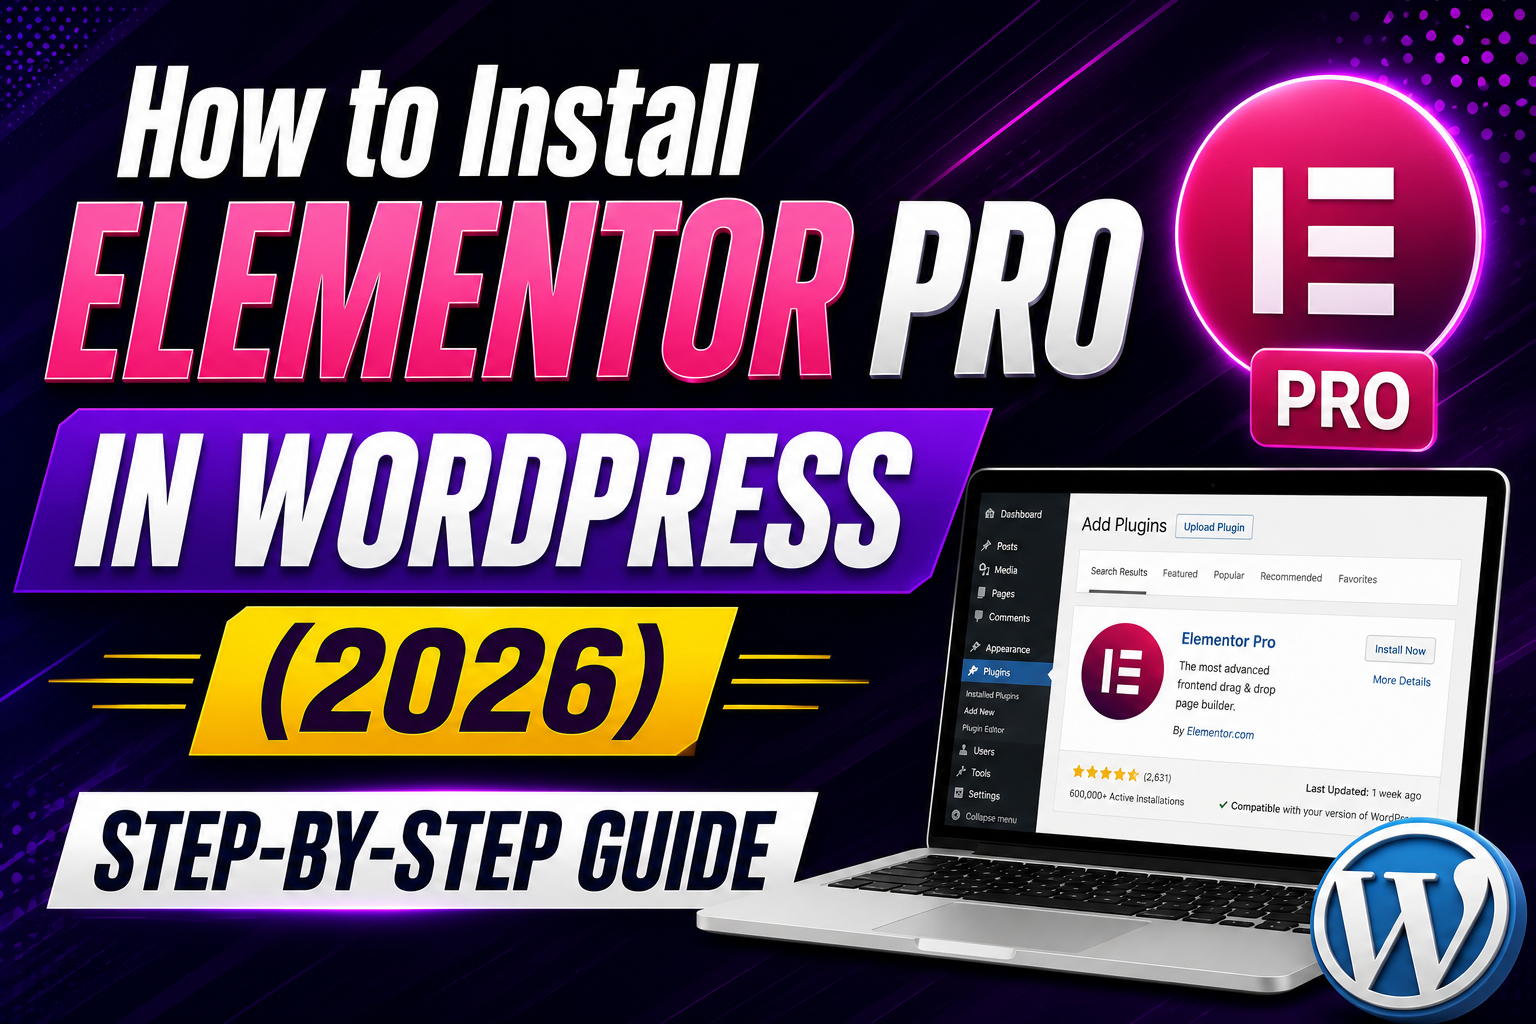
Introduction
Installing Elementor Pro is one of the first steps toward building professional WordPress websites without writing code. While the process is simple, many beginners encounter issues such as license activation problems, plugin conflicts, or failed uploads.
This guide walks you through the correct installation process, explains why Elementor Free is required, and shares best practices to ensure Elementor Pro works smoothly from the beginning.
Requirements Before Installing Elementor Pro
Before starting, make sure you have:
- A self-hosted WordPress website
- Administrator access to WordPress
- PHP version recommended by Elementor
- Sufficient PHP memory limit
- A valid Elementor Pro subscription
- Stable internet connection
It is also recommended to update WordPress, your active theme, and existing plugins before installing Elementor Pro to minimize compatibility issues.
Step 1: Purchase Elementor Pro
Elementor Pro is a premium plugin available through Elementor’s official website.
After purchasing a plan:
- Sign in to your Elementor account.
- Open your account dashboard.
- Download the latest Elementor Pro ZIP file.
- Keep your account credentials ready for license activation.
Step 2: Install Elementor (Free)
Elementor Pro cannot work independently. The free Elementor plugin must be installed first.
Installation Steps
- Log in to WordPress.
- Go to Plugins → Add New.
- Search for Elementor Website Builder.
- Click Install Now.
- Click Activate.
Once activated, you’ll see a new Elementor menu in the WordPress dashboard.
Step 3: Upload Elementor Pro
Now install the premium extension.
- Go to Plugins → Add New Plugin.
- Click Upload Plugin.
- Select the Elementor Pro ZIP file.
- Click Install Now.
- After installation, click Activate Plugin.
Elementor Pro will now extend the functionality of the free plugin.
Step 4: Activate Your Elementor Pro License
To receive updates, premium templates, and official support:
- Navigate to Elementor → License.
- Click Connect & Activate.
- Sign in to your Elementor account.
- Approve the connection.
A successful activation confirms that your website is linked to your Elementor Pro subscription.
Step 5: Verify the Installation
You can confirm Elementor Pro is active by checking for premium features such as:
- Theme Builder
- Popup Builder
- Form Widget
- WooCommerce Builder
- Dynamic Tags
- Motion Effects
- Custom CSS
If these options are available, the installation is complete.
Recommended Initial Settings
After installation:
- Configure Global Colors.
- Configure Global Fonts.
- Enable Flexbox Containers (if appropriate for your project).
- Set your default typography.
- Adjust responsive breakpoints.
- Configure Site Settings.
- Set the preferred content width.
- Review Elementor’s performance options.
Taking a few minutes to configure these settings helps maintain consistency across your website.
Common Installation Errors
Plugin Upload Failed
Possible causes:
- Low PHP upload limit
- Corrupted ZIP file
- Incorrect file selected
Solution:
- Download the plugin again.
- Increase upload limits if necessary.
- Verify you’re uploading the Elementor Pro ZIP file.
License Not Activating
Possible causes:
- Incorrect login
- Expired subscription
- Firewall blocking the connection
Solution:
- Confirm your subscription is active.
- Reconnect your Elementor account.
- Check server firewall settings.
White Screen After Activation
Possible causes:
- PHP memory exhausted
- Plugin conflict
- Theme conflict
Solution:
- Increase PHP memory limit.
- Disable plugins temporarily to identify conflicts.
- Switch to a default theme for testing.
Elementor Editor Not Loading
This is usually caused by:
- Cache issues
- JavaScript errors
- Security plugins
- Outdated PHP version
Clear your cache, update WordPress and PHP, and test with other plugins temporarily disabled.
Best Practices After Installation
To keep Elementor Pro running smoothly:
- Use a lightweight theme.
- Install only necessary plugins.
- Optimize images before uploading.
- Enable page caching.
- Regularly update Elementor, WordPress, and your theme.
- Back up your website before major updates.
- Avoid installing too many Elementor addon packs.
FAQs
Do I need Elementor Free?
Yes. Elementor Pro extends the free plugin and cannot run by itself.
Can I install Elementor Pro on localhost?
Yes. You can develop locally, though license activation and some online features may have limitations depending on your setup.
Can I use Elementor Pro on multiple websites?
This depends on the license plan you purchase.
Will I lose my designs if my subscription expires?
Your existing designs typically remain, but you may lose access to updates, premium templates, and support.
Is Elementor Pro compatible with WooCommerce?
Yes. It includes a WooCommerce Builder for customizing store pages.
Conclusion
Installing Elementor Pro is a straightforward process when you follow the correct sequence: install the free plugin, upload the Pro extension, activate your license, and configure the essential settings. A clean installation, combined with good hosting and optimization practices, provides a strong foundation for building professional WordPress websites.
WPForms Review 2026 – Features, Pricing, Pros & Cons & Complete Review
SEOPress Review 2026 – Features, Pricing, Pros & Cons & Complete Review

All in One SEO Review 2026 – Features, Pricing, Pros & Cons & Complete Review
Yoast SEO Review 2026 – Features, Pricing, Pros & Cons & Complete Review
WPForms Review 2026 – Features, Pricing, Pros & Cons & Complete Review
SEOPress Review 2026 – Features, Pricing, Pros & Cons & Complete Review
All in One SEO Review 2026 – Features, Pricing, Pros & Cons & Complete Review